Aug 24, 2026Microneedling OEM & Private Label
What Should You Check After Receiving a Microneedling Sample?
Use this microneedling sample quality checklist to inspect device specifications, needle packaging, serum flow, leakage and retail packaging.
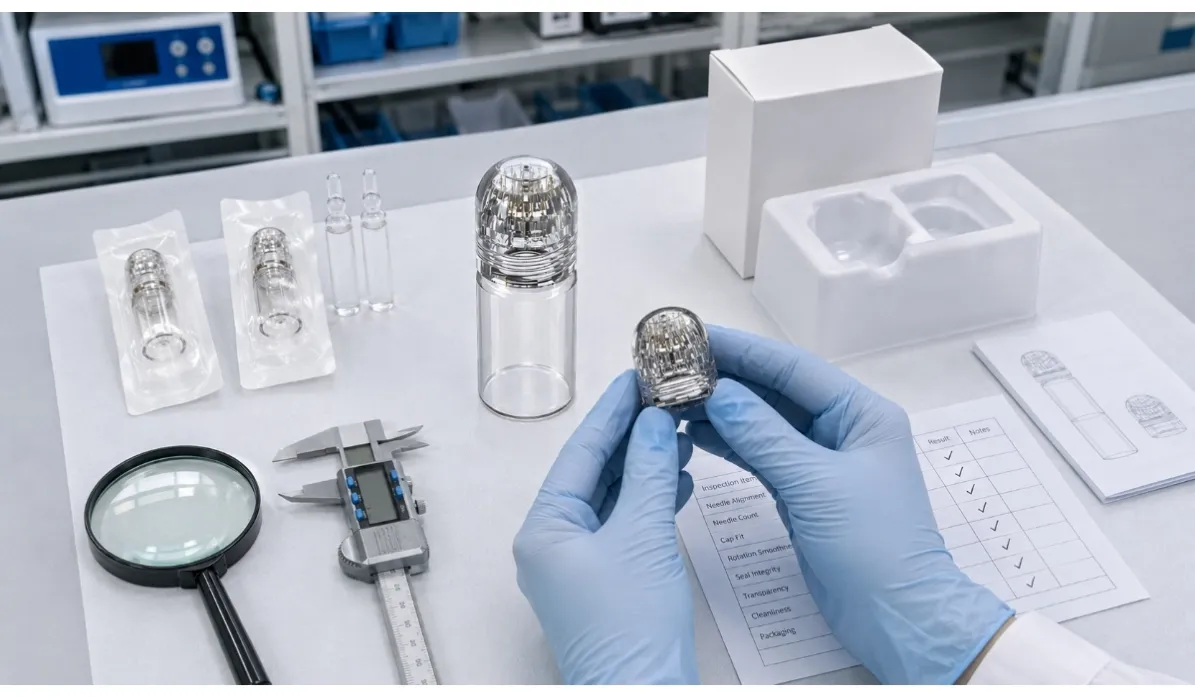
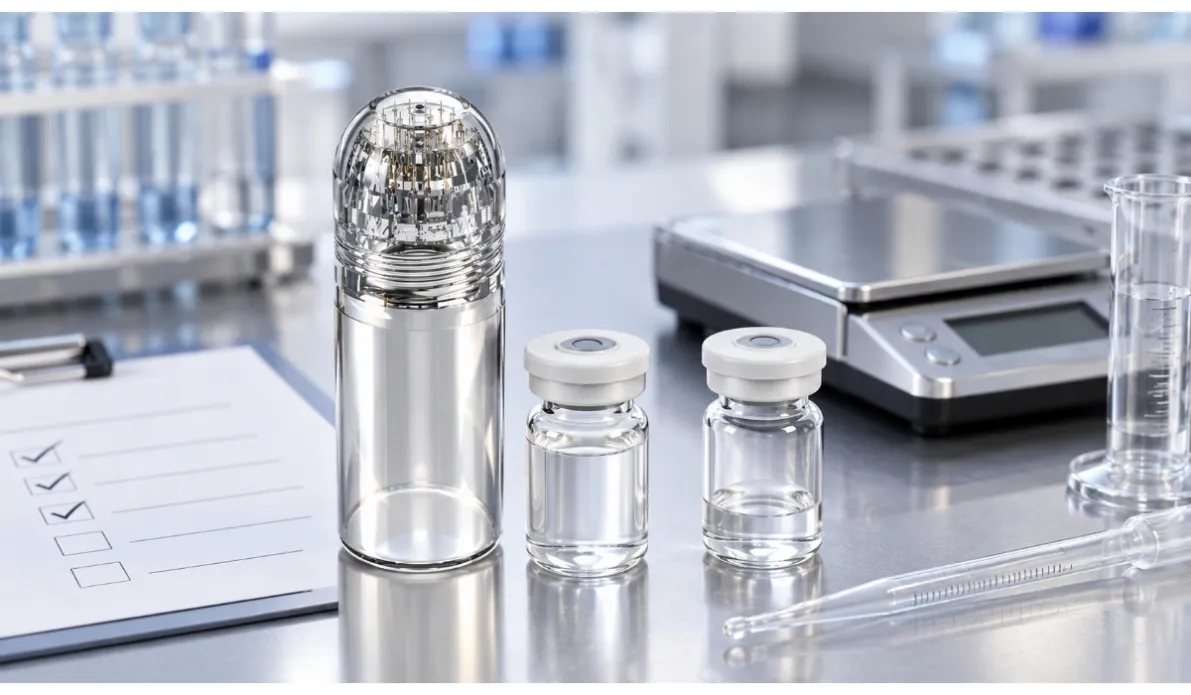
Your microneedling sample has arrived. The device looks good, the packaging is clean and the supplier is waiting for your feedback.
But “the sample looks fine” is not enough information for a private label purchasing decision.
A proper sample review should answer three questions:
- Did the supplier send the correct configuration?
- Does the device work consistently with your selected serum?
- Can the product be developed into a practical retail kit?
Here is a simple microneedling sample quality checklist for beauty brands and distributors.
1. Compare the Sample with the Confirmed Specifications
Start with the original quotation or specification sheet.
Check the:
- Device model
- Needle quantity and material
- Needle length
- Fixed or adjustable structure
- Bottle capacity
- Device color and finish
- Number of needle heads
- Accessories included
Do not rely only on the product photo. Two micro-infusion devices may look similar but have different needle specifications, internal structures or dispensing methods.
If anything is different, ask the supplier whether it is a sample substitution or a specification change.
2. Inspect the Needle Head and Individual Packaging
The needle head is one of the most important parts of the sample.
Before opening it, check whether the individual packaging is properly sealed and free from visible damage.
Where applicable, the packaging should clearly identify information such as:
- Product model
- Needle specification
- Lot or batch reference
- Production or expiry date
If the supplier makes a specific sterility or compliance claim, request documents that apply to the exact needle head or device model—not a different product.
Use a new needle head for each controlled evaluation and do not share or reuse opened heads between testers.
3. Check Assembly, Threading and Sealing
Assemble the device according to the supplier’s instructions.
Check whether:
- The needle head connects smoothly
- Threads align without excessive force
- Components feel secure after assembly
- The bottle closes correctly
- The pump or pressing structure returns normally
- Liquid appears around the connection points
A beautiful device can still create customer complaints if the bottle leaks in the retail box or the head becomes loose during normal handling.
If you find leakage, record when it occurs—for example, after assembly, during pressing or after the product has been placed horizontally.
Specific feedback helps the manufacturer identify the cause more quickly.
4. Test Serum Compatibility and Dispensing
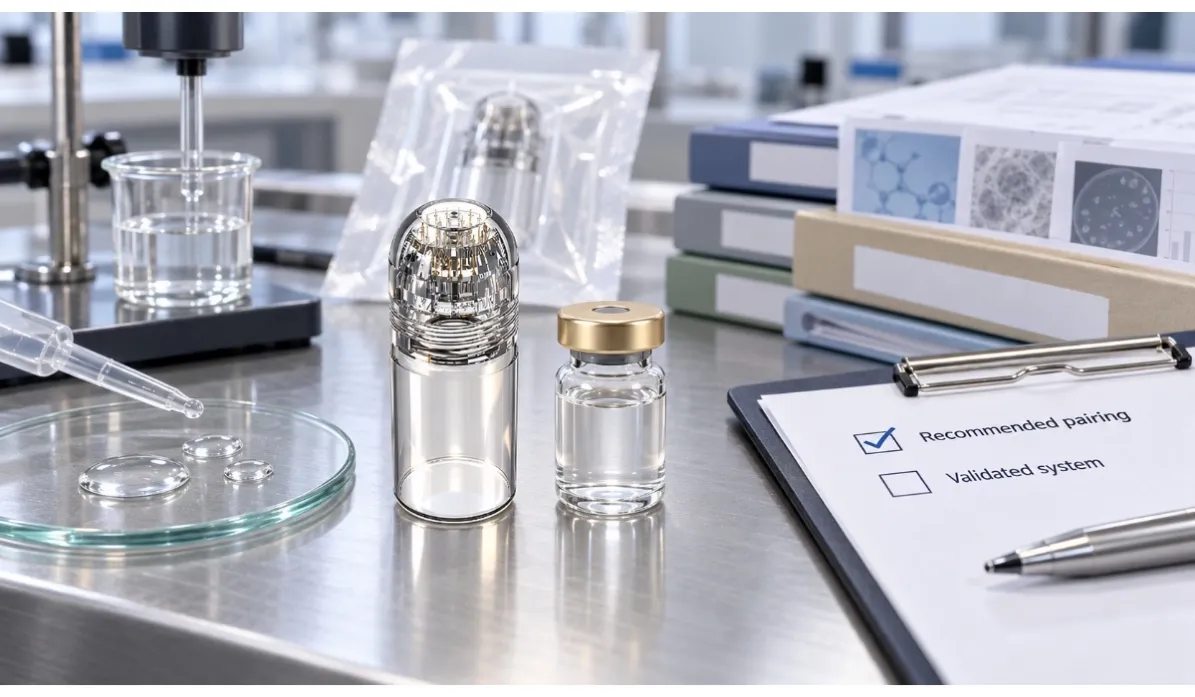
A device sample should be tested with a formula that is close to the serum planned for the final kit.
Serum viscosity can influence:
- How quickly the liquid starts to dispense
- How evenly it moves around the needle area
- The amount released with each press
- Residue remaining inside the bottle
- The risk of slow flow or blockage
Carry out the dispensing check on a clean testing surface before any controlled user evaluation.
If you are comparing a lightweight serum with a thicker formula, test them separately and record the difference. Do not assume that one device will perform identically with every formula.
For a device-plus-serum project, compatibility testing is more useful than evaluating the device and ampoule independently.
5. Evaluate the Replacement Needle Heads
If the device body is designed for continued use with replaceable consumables, test more than one replacement head.
Confirm that each head:
- Fits the same device body
- Connects consistently
- Has the correct specification
- Arrives in individual packaging
- Can be replaced without damaging the device
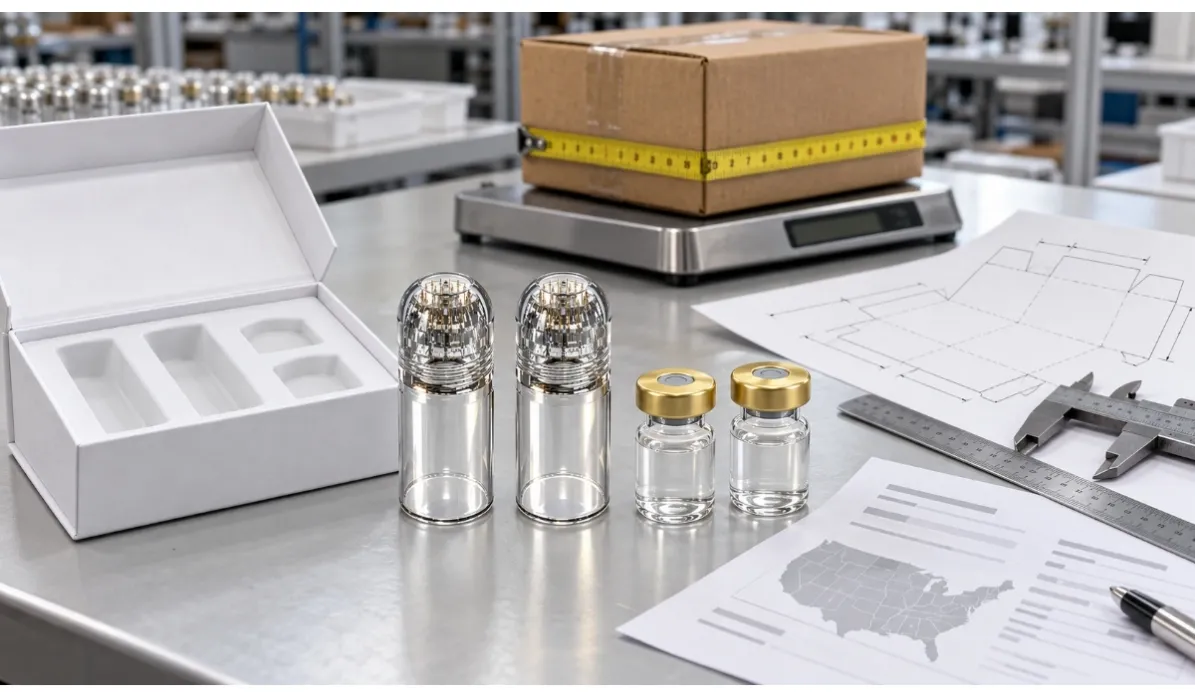
Also consider how many replacement heads the final retail kit should include. This affects packaging space, customer instructions and the cost of the complete set.
6. Review the Retail Experience
The sample is not only a factory component. It will eventually become a product used and judged by your customers.
Review:
- How easily the box opens
- Whether components stay securely in the insert
- Whether ampoules and needle heads are clearly separated
- Whether the instructions match the supplied model
- Whether important cautions are easy to find
- Whether the product can be stored after opening
A premium-looking box cannot compensate for confusing assembly or missing instructions.
7. Create an Approved Reference Sample
Once the device, serum and packaging details are accepted, record the final configuration.
Keep:
- Photos and testing videos
- Confirmed specifications
- Approved colors and finishes
- Packaging dimensions
- Serum details
- Written correction points
- One approved reference sample where practical
This gives both the buyer and manufacturer a clearer standard when evaluating future production.
Avoid feedback such as “make it better” or “the quality feels different.” Describe the exact issue, its location and when it happens.
Need a Sample Configuration for Your Brand?
BegoSkin supplies private label microneedling devices, replacement needle heads, compatible serum ampoules and custom kit packaging.
To prepare a suitable sample configuration, tell us:
- Your preferred device model
- Target needle specification
- Device only or device with serum
- Number of replacement heads
- Target market
- Packaging idea