Aug 25, 2026Microneedling OEM & Private Label
How Can Buyers Prevent Sample-to-Bulk Quality Differences?
Learn how microneedling buyers can reduce sample-to-bulk differences through approved specifications, golden samples and production inspections.
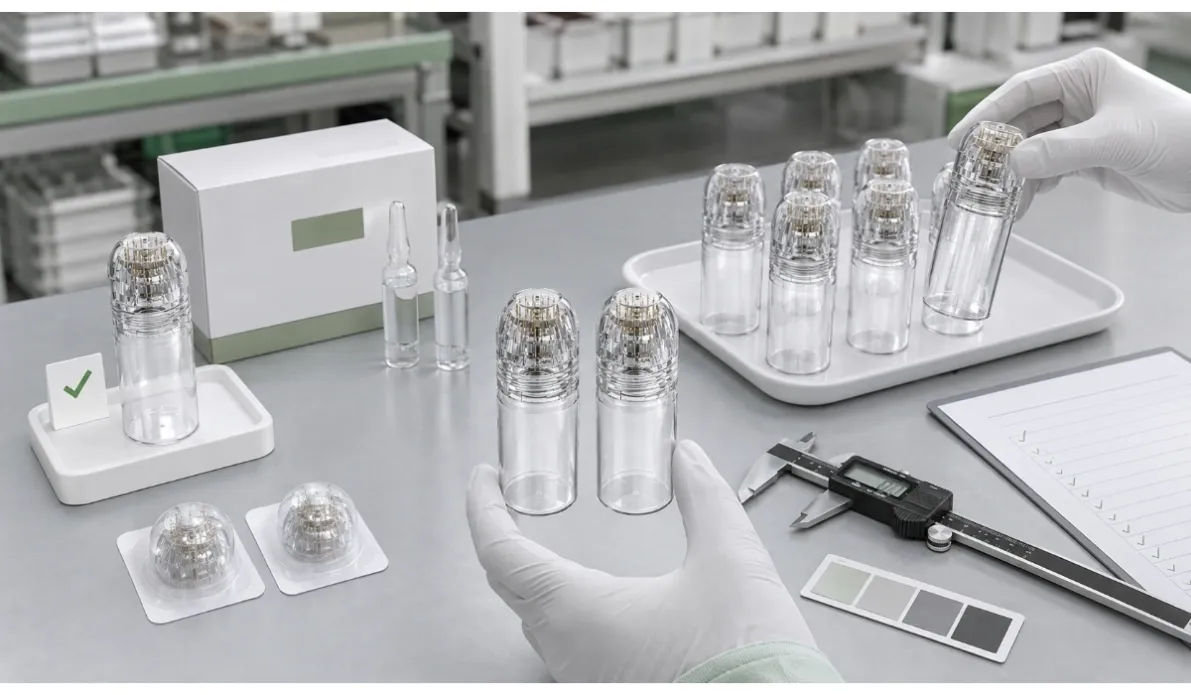
The microneedling sample looks good, the serum dispenses correctly and the packaging has been approved.
But will the bulk order be the same?
This is one of the most important questions in private label sourcing. Sample-to-bulk differences can affect device color, needle specifications, component fitting, serum flow, logo placement and packaging quality.
The most effective solution is not simply telling the supplier to “make the bulk order exactly like the sample.” Buyers need to turn the approved sample into a clear production standard.
Why Can Samples and Bulk Orders Be Different?
Differences do not always mean that a supplier has intentionally changed the product.
They may happen because:
- The sample was assembled from available components
- Specifications were confirmed only through messages
- Device colors were described without a physical reference
- Serum or packaging details changed during development
- Several artwork versions were exchanged
- A component was replaced without written approval
- Acceptable tolerances were never discussed
The more customized the microneedling kit becomes, the more details need to be recorded.
1. Freeze the Final Product Configuration
Before production, create one final specification document covering the complete kit.
It should confirm:
- Microneedling device model
- Needle quantity, material and length
- Fixed or adjustable structure
- Bottle capacity
- Device color and surface finish
- Replacement-head quantity
- Serum formula and ampoule volume
- Logo method and position
- Packaging components
- Instruction leaflet version
- Quantity packed per carton
Do not leave important specifications only in email or WhatsApp conversations.
One approved document helps the buyer, salesperson, factory and quality-control team work from the same information.
2. Keep an Approved Reference Sample
An approved reference sample—sometimes called a golden sample—provides a physical benchmark for production.
Where practical, both the buyer and supplier should keep the same approved version.
Record:
- Approval date
- Product version
- Device and packaging photographs
- Confirmed corrections
- Artwork file name
- Color or finish reference
The reference sample should be clearly separated from ordinary development samples to prevent confusion later.
3. Replace Subjective Feedback with Clear Standards
Comments such as “make the color nicer,” “the pump feels better” or “the box should look more premium” are difficult to apply consistently.
Feedback should identify:
- Which component has the problem
- Where the difference appears
- When the problem happens
- What the approved result should be
- Which reference should be followed
For example, instead of saying “the device leaks,” explain whether liquid appears around the bottle thread, needle connection or pump area—and under which handling condition.
Specific feedback makes corrective work faster and easier to verify.
4. Approve Customized Parts Before Assembly
Do not wait until the complete bulk order is finished to review customized components.
Depending on the project, request approval of:
- Device logo sample
- Ampoule label proof
- Printed carton proof
- Inner-tray fitting
- Instruction leaflet
- Gift-box structure
- Final packaging artwork
Digital artwork approval checks the content, but it may not fully represent printing color, surface finish or actual component fitting.
Physical proofs or production samples are more useful for critical details.
5. Establish a Written Change-Control Process
Ask the supplier to inform you before changing any confirmed component, material, finish or packaging method.
If an adjustment becomes necessary, request:
- The reason for the change
- Photographs or a replacement sample
- Any effect on price or lead time
- Written approval before production continues
A small unconfirmed change can affect the appearance, function or packing of the complete kit.
6. Confirm Quality Checks at Key Production Stages
Ask your private label microneedling manufacturer which inspections are completed during production.
Relevant checkpoints may include:
- Incoming component inspection
- Needle-head appearance and specification
- Device assembly and fitting
- Sealing or leakage checks
- Dispensing checks with the planned formula
- Logo and printing position
- Packaging component verification
- Final random inspection
Not every product requires the same inspection method. The checks should reflect the confirmed device, serum and packaging configuration.
7. Review Production Evidence Before Shipment
Before approving shipment, request appropriate production records such as:
- Finished-product photos
- Retail packaging photos
- Carton markings
- Packing list
- Inspection summary
- Photos of randomly selected units
For larger or more complex orders, buyers may also arrange an independent pre-shipment inspection.
The purpose is not to inspect every unit remotely. It is to identify obvious differences before the goods leave the factory.
Build a Standard That Can Be Repeated
A good sample proves that a product idea can work.
A good approval process shows the factory how to reproduce it consistently.
Before placing an OEM microneedling order, make sure the final device, needle head, serum, logo and packaging requirements are recorded in one approved configuration.
BegoSkin supports private label microneedling devices, replacement heads, serum ampoules and customized kit packaging.
Send us your selected model and customization requirements, and we can help organize the configuration details that need to be confirmed before production.